The Little Garage Makeover
Taken today.
So you’ve seen The Shed…now see what happened back in the “3/4 car” garage, after all that stuff was moved out into it. I wondered how we ever fit everything in the garage before the shed was built!
In the picture below, you see the dark void is ready to begin its’ transformation…
Lemme tell you - it was small but largely gross!
My wonderful brother and builder, Ridgeline Construction, helped us on this one too. His crew came out and completely transformed my home’s dark appendage into a clean, lit space. In the picture above, the 45 year old manual garage door is gone and they have started insulating the space. There was no insulation, and dark 1960’s paneling with holes in it.
We did this in the spring of 2017.
Here’s a better shot. This wall is the front of the house and faces the front walkway. The space does have vents for heating and cooling. That is against code now for new building permits. The windowsills had broken off.
This shot shows you the crawl space above, with joists, and the jut out where our new laundry room was added in 2007. You can also see original garage door.
The far corner with the hot water heater. I wanted to do a tankless one, but when I read up on it, I found that they need good water pressure to be effective and work well. We have horrible water pressure. I would still like to replace this with a gas one, however.
Here’s the jut out with the new shelving and outlet. The garage had two outlets in it before. Now there are five. We put peg board on the wall facing me, and painted it white. Notice the crown?? ;)
I put two coats of paint on the floor with a roller, matching the house color. Easy peasy. Then I started to paint the stencil in the house trim color, also with a roller. That was easy too…until I realized that I would have to scrub the stencil after every 4th or 5th use - it was getting blobs of paint stuck to it and then drying. So that took some time and was a real pain. What should’ve taken three days took two weeks. (I honestly would do it again, but I would buy 4 or 5 stencils, and soak them in between uses!)
But I love the way it looked and I put two coats of Annie Sloan Lacquer on top to seal it. It has held up amazingly well.
In between the windows on the left of the space, we put a new worktable, and a smaller shelving unit. We added several more sections of white pegboard.
We also got this golf caddy for Chip’s golf stuff.
The new garage door and new trellis above.
This wall is the back of the fireplace/chimney and that door is where the original oil furnace was. We had an oil tank buried in the back yard. When I tell you that we have remade this place, I’m not kidding! 🥴
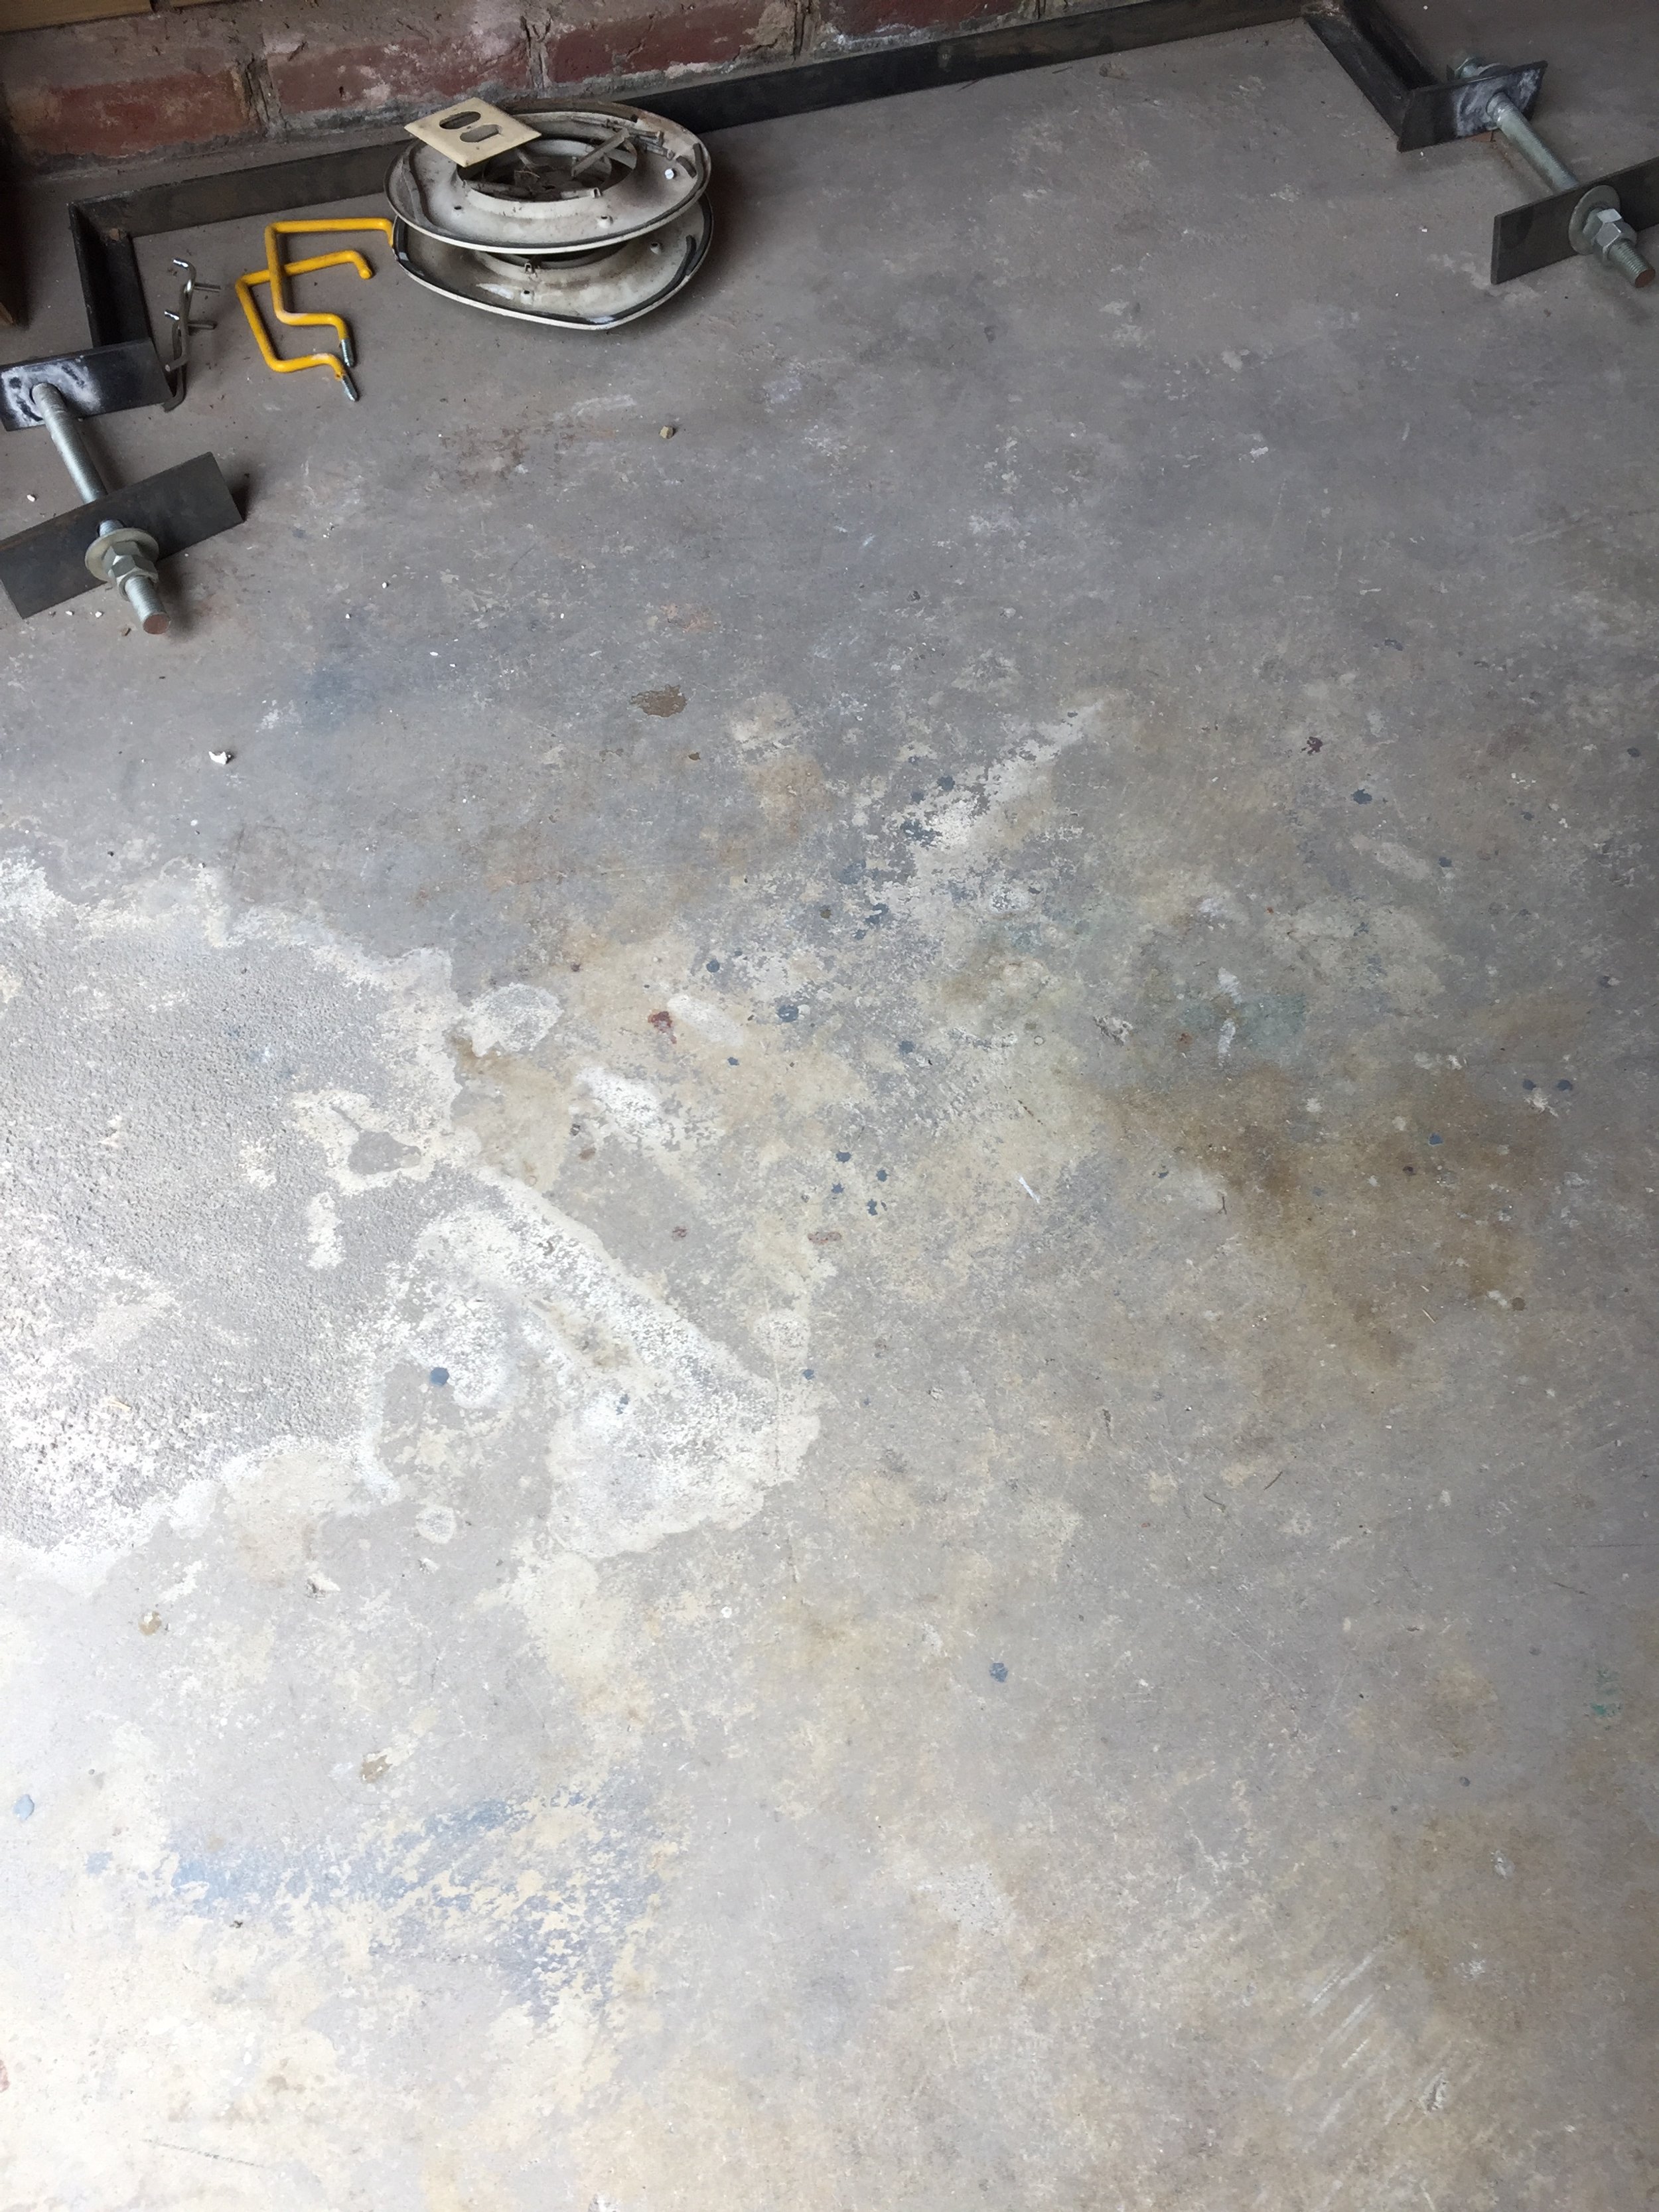
Here you can see the condition of the concrete floor. It was etched and chipped with stains and paint all over it and it was filthy. I was determined to cover all that with some kind of finish. You can also see the dented, rusted duct covers.
Now we’re getting somewhere.
In this shot, they have put up plywood over the insulation and added a new ceiling, with new vents and lights. Where we had one flickering fluorescent light, we now have three working ones. Chip wanted the barn door covering the water heater, so there’s that. They painted everything white. And you can see the beginning of the shelving they built all around the ceiling. And they put in crown molding for God’s sake! Go guys.
The new remote control garage door was installed (so exciting), and here’s what I did with the floor…
I really did research it, thoroughly.
I was going to do the “plastic bits in goo”, but that seemed like you needed to know what you were doing and I didn’t like the way it looked. I looked at several other things that were either ugly and/or really expensive. I really wanted tile, but it was crazy to spend the money. In the end, I decided that using Annie Sloan Chalk Paint, with lacquer on top was the easiest thing. And it was. Until I decided to stencil it to LOOK like a tile floor…
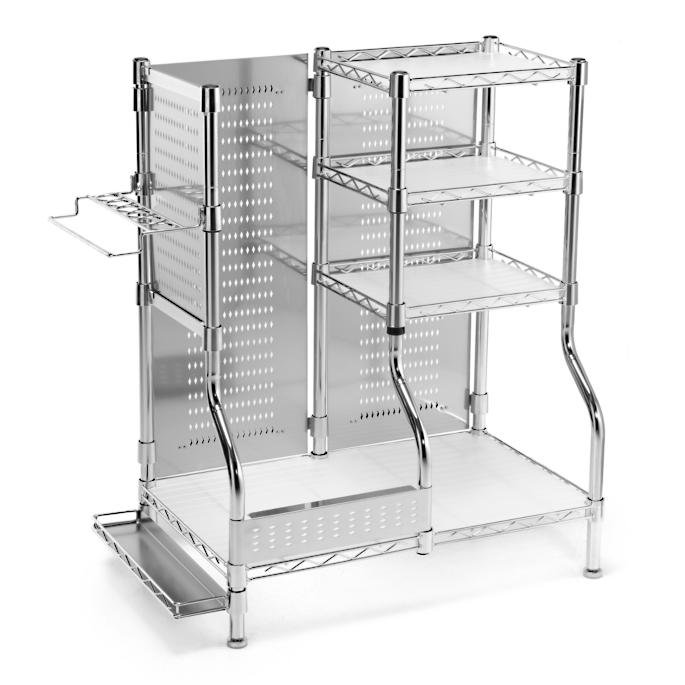
We got a large steel shelving unit for right of the door to laundry room.
I got casters for the units so that I can move them around when I clean it out once a year.


