
Easy Peasy Spring Floral | How To!
This only involves your back yard and a trip to Trader Joes or your best grocery floral section. I usually go to the local Wegmans, which has a great floral department, but Trader Joes is hard to beat!
Here are the deets…
Click on images to enlarge if you want!
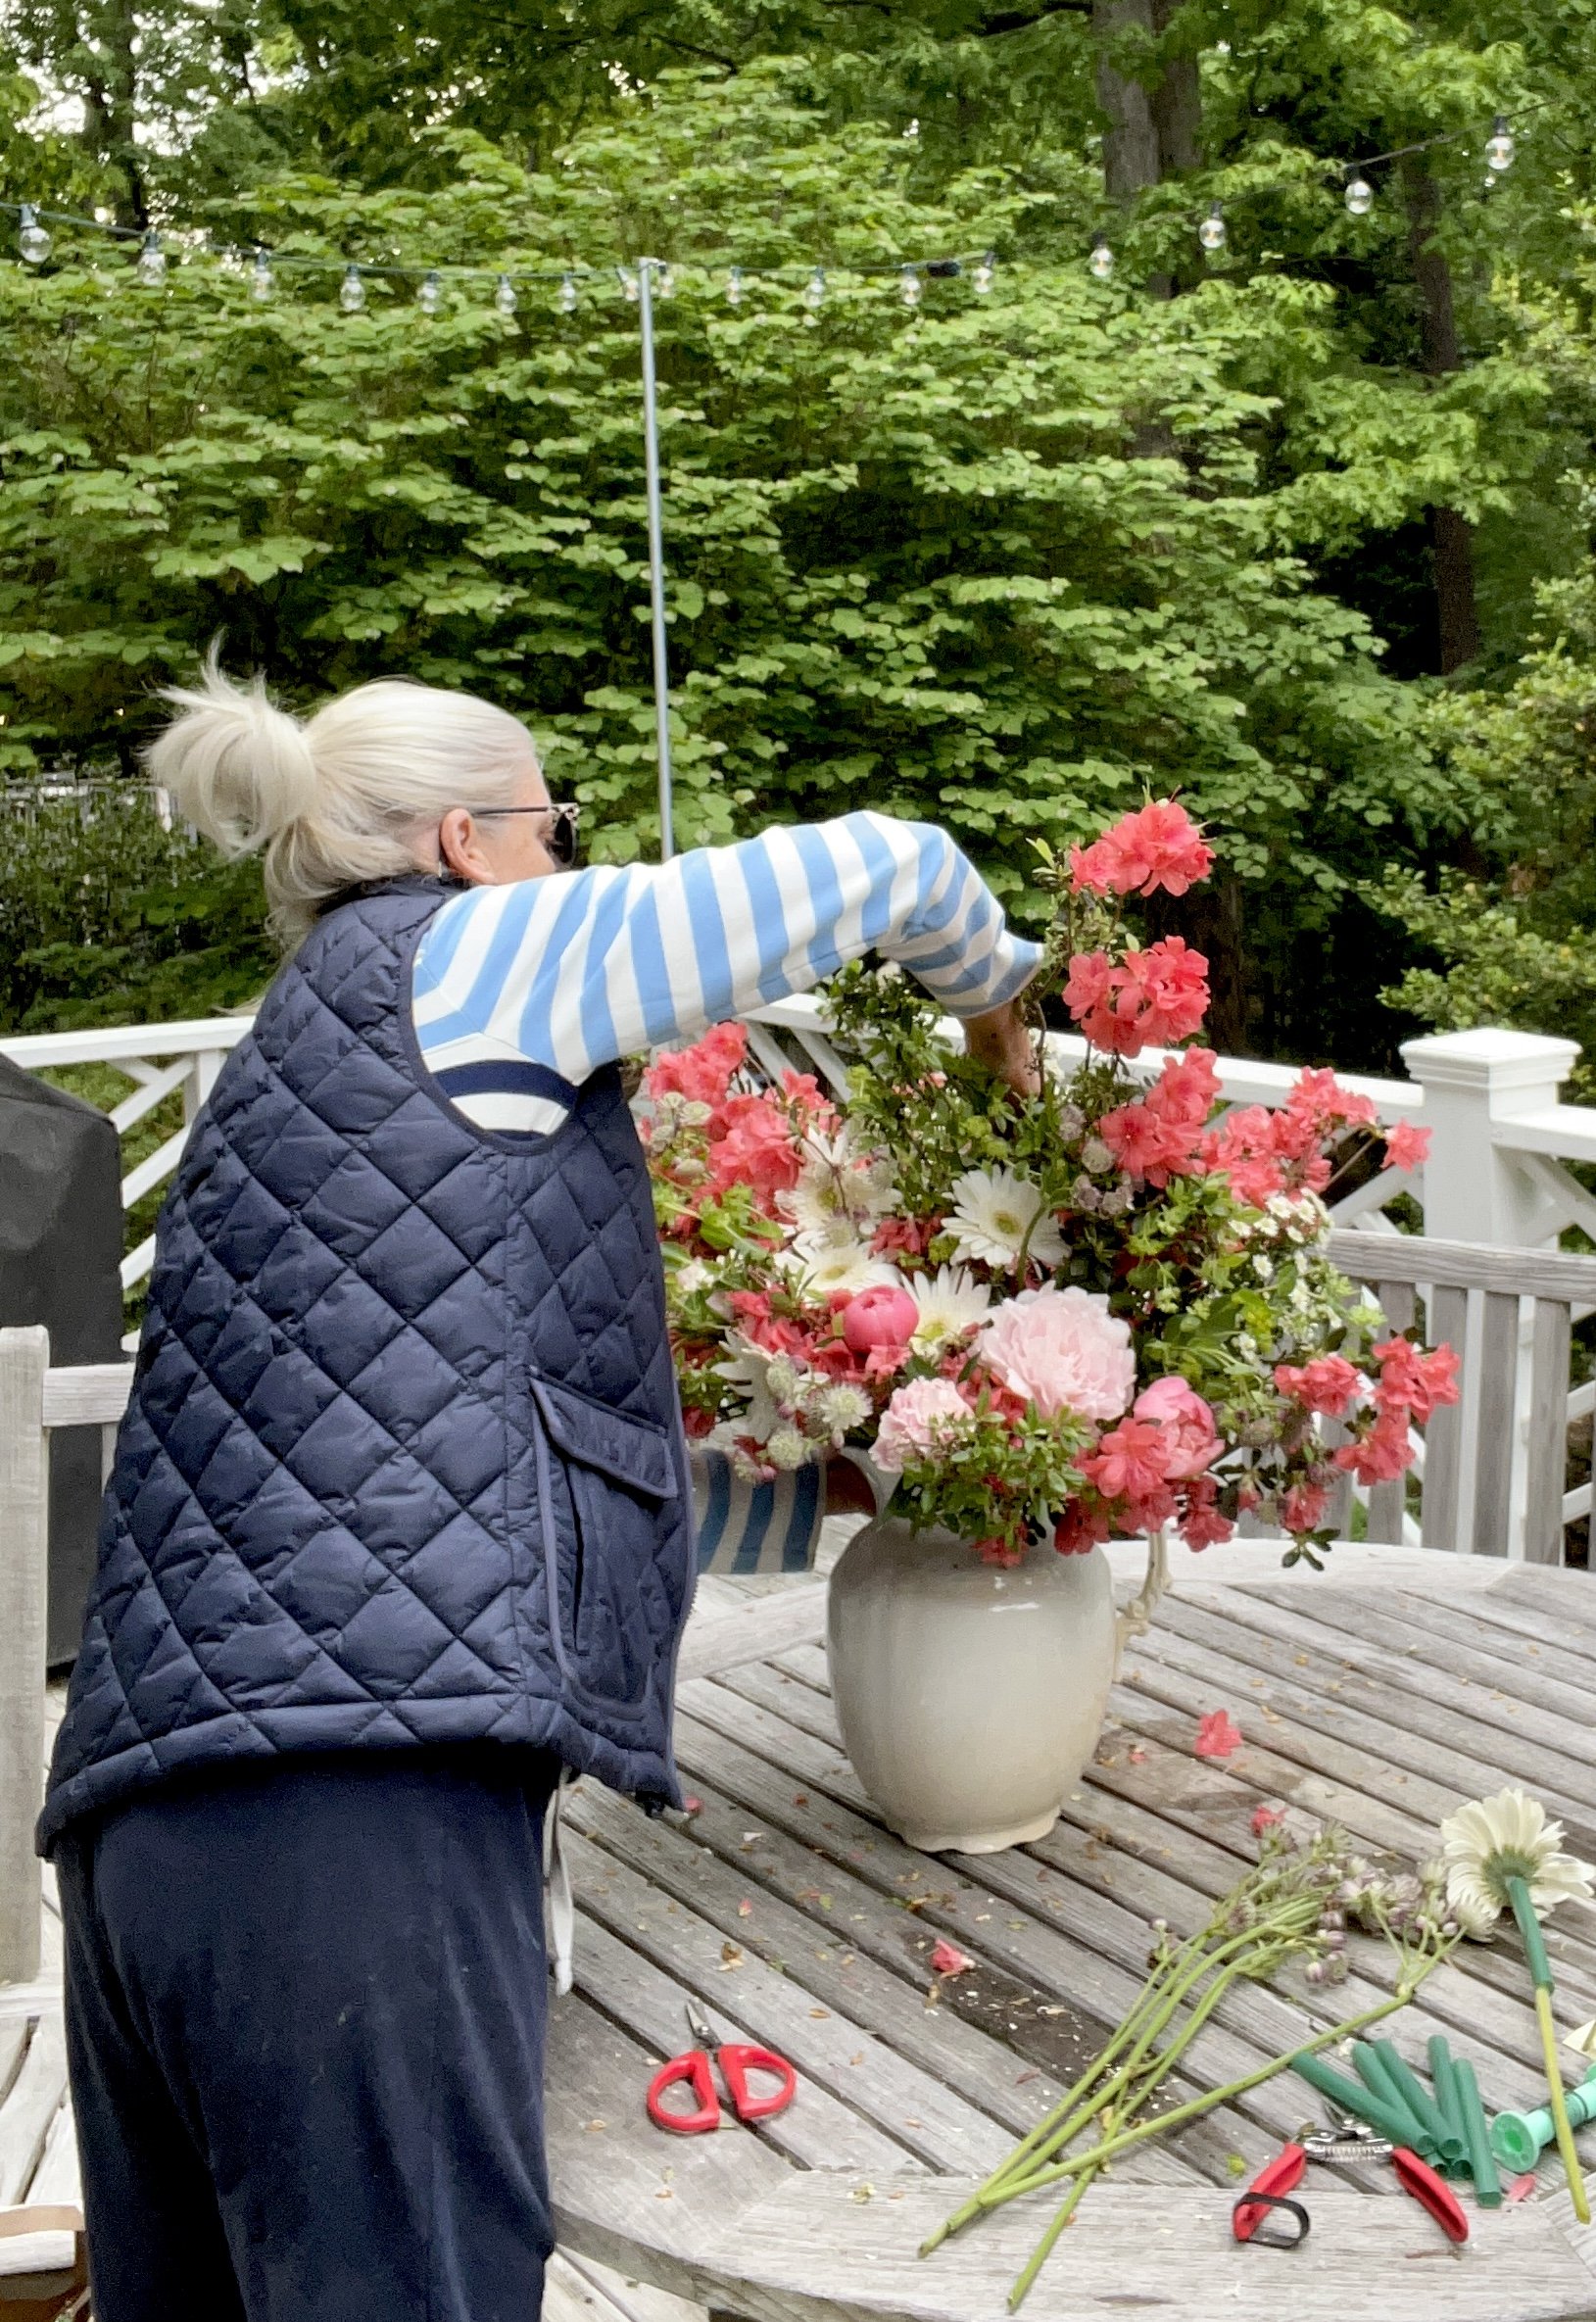
I got a bunch of stems at Trader Joes. It was going to be white with lime green, purple and gold. When I went to clip my spirea bushes (dainty white blooms), they really were spent. But the salmon red azaleas were really pretty and my peonies have started blooming - on to Plan B!!!
I wanted to do a big ole thing because the branches were huge - so I got a big ole pitcher. Using branches makes it easier - there are no mechanics - they ARE the mechanics!! They hold all the smaller things in place, like a wire cage or floral foam would.
Step One…
Stick the flowering branches in and always cut off all foliage beneath the water line to prevent bacteria.
Step Two…
Add some branches without flowers to break up the mass of color.
Tip - if they are not cooperating, take some thin wire and wrangle them like you want them - in this case, I tied them together.
Step Three…
Add the biggest flower around the bottom of the arrangement - they will ground it - I like to put them in a grouping instead of dotted all over…
Step Four…
Add your next largest flowers. In this case, it was white gerbera daisies. I think white roses would’ve been better with the peonies, but that was what I bought. Scatter these around your base of bigger blooms.
Step Five…
Add some lime green for a different color and some softer texture.
Step Six…
I added some tiny daisy bunches to fill large holes in the back. I really needed more - if I was going for a more perfect situation.
Step Seven…
I added the last bits from Trader Joes - some purple stems for more color and some gold pom poms scattered around. The gold plays off the daisies. Done! I wanted it huge and a little wild, and that’s what I got!
Step Eight…
When you put it where you want it, check it out and give it a hair cut if needed. I cut some of the azalea branches that were sticking to far out, on the left.
Give it a spray of this - it holds in moisture and keeps the flowers fresher, longer.
And there you go! It’s like a statement piece for your foyer, large table, or front stoop!
Hope you were inspired by this little “how-to.” The best way to learn this art, is to keep doing it yourself, or to join a local garden club. Or I bet there are 1,893,836 flower arranging videos on Youtube…!
Next up - how to help a friend and then I’ve been asked to do a gift ideas post - weddings and graduations and babies - OH MY!!